Transmission mount — replacement Ford F150
1. Raise and support the vehicle on jackstands.
2. Remove the transmission undercover and skip plate, if equipped.
3. Place a transmission jack or a floor jack under the transmission.
Remove the exhaust heat shield bolts
4. Remove the bolts attaching the exhaust heat shield to the crossmember.
Remove the nuts attaching the mount to the crossmember
5. Remove the two nuts attaching the transmission mount to the crossmember.
6. Remove four nuts and bolts and remove the transmission crossmember from the vehicle.
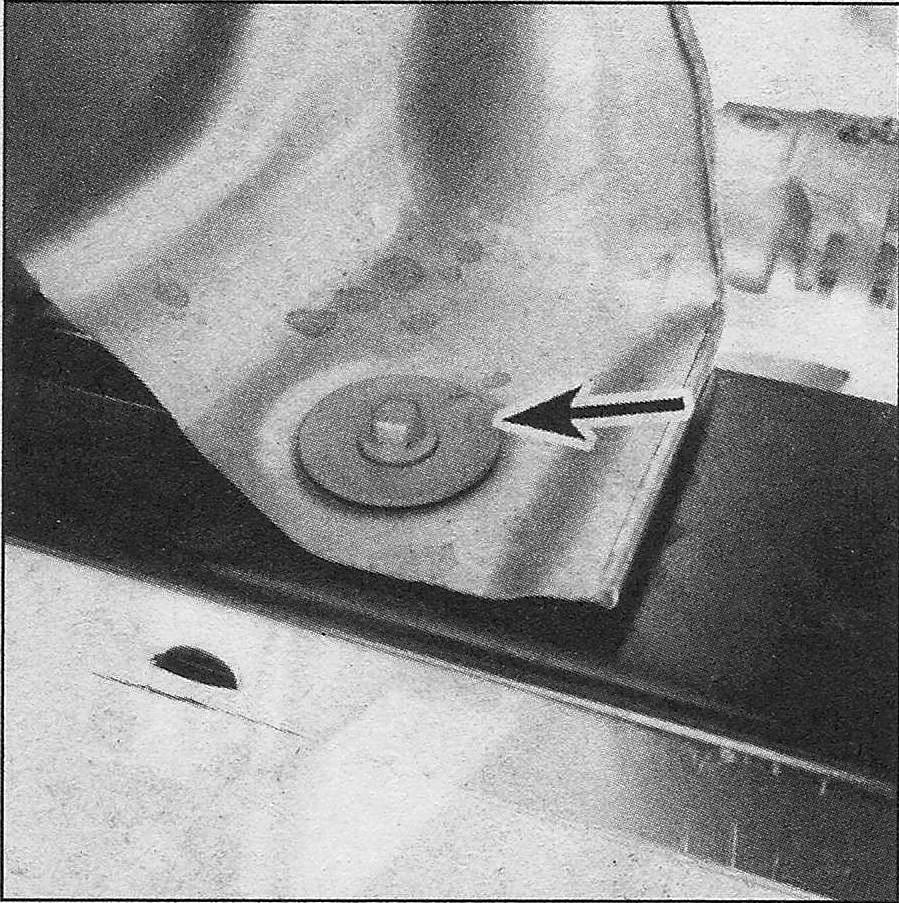
Note: When removing the crossmember it may be necessary to use a knife or similar to cut the heat shield material where the frame and crossmember come together.
7. Remove the bolt and the left (driver’s) side exhaust hanger cap from the transmission mount.
Remove the exhaust hanger cap (1) and the bolts (2) attaching the mount to the transmission (2WD shown)
8. On 2WD models, remove three transmission mount bolts and slide the mount off of the exhaust hangers to remove.
9. On 4WD models, remove two transmission mount bolts on each side of the mount (4 total) and slide the mount off of the exhaust hangers to remove.
10. Installation is reverse of removal. Tighten all fasteners to the torque values listed in this Chapter’s Specifications.


