Body repair — major damage Ford F150
1. Major damage must be repaired by an auto body shop specifically equipped to perform body and frame repairs. These shops have the specialized equipment required to do the job properly.
2. If the damage is extensive, the frame must be checked for proper alignment or the vehicle’s handling characteristics may be adversely affected and other components may wear at an accelerated rate.
3. Due to the fact that all of the major body components (hood, fenders, etc.) are separate and replaceable units, any seriously damaged components should be replaced rather than repaired. Sometimes the components can be found in a wrecking yard that specializes in used vehicle components, often at considerable savings over the cost of new parts.
These photos illustrate a method of repairing simple dents. They are intended to supplement Body repair — minor damage in this Chapterand should not be used as the sole instructions for body repair on these vehicles.
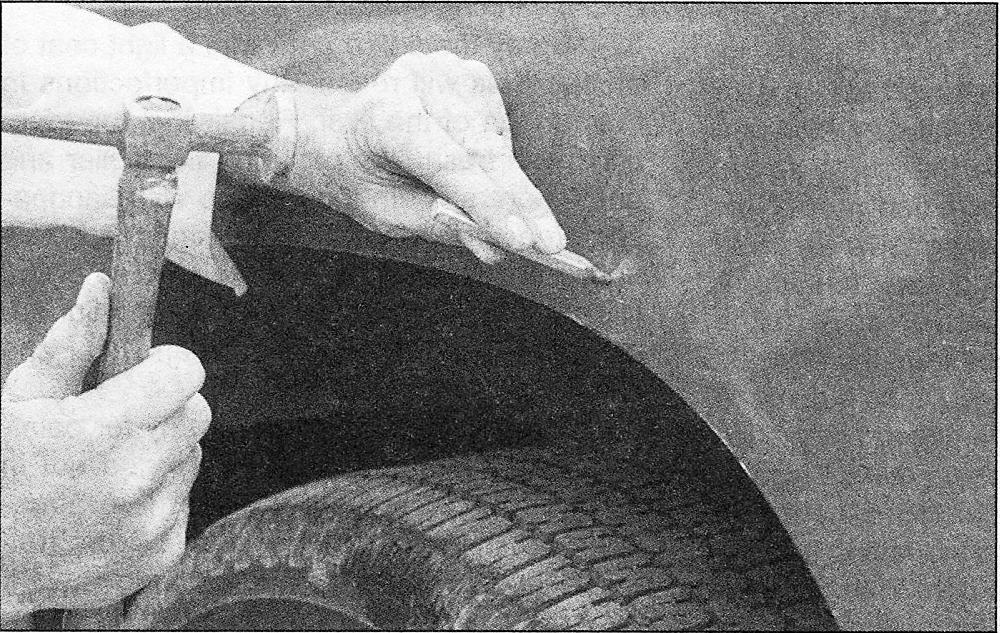
1. If you can’t access the backside of the body panel to hammer out the dent, pull it out with a slide-hammer-type dent puller. In the deepest portion of the dent or along the crease line, drill or punch hole(s) at least one inch apart . .
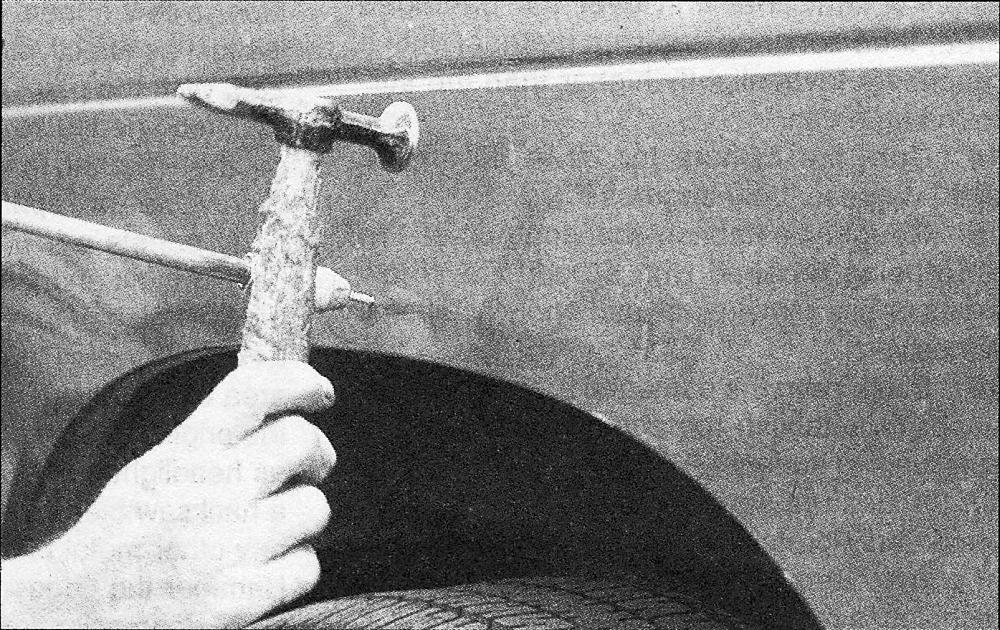
2. … then screw the slide-hammer into the hole and operate it. Tap with a hammer near the edge of the dent to help ‘pop’ the metal back to its original shape. When you’re finished, the dent area should be close to its original contour and about 1/8-inch below the surface of the surrounding metal
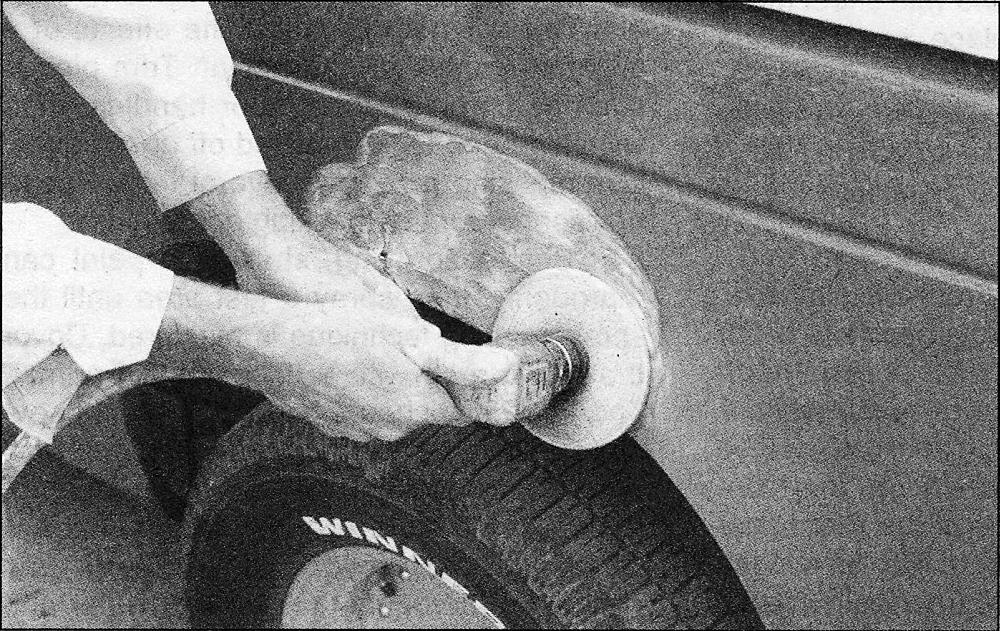
3. Using coarse-grit sandpaper, remove the paint down to the bare metal. Hand sanding works fine, but the disc sander shown here makes the job faster. Use finer (about 320-grit) sandpaper to feather-edge the paint at least one inch around the dent area
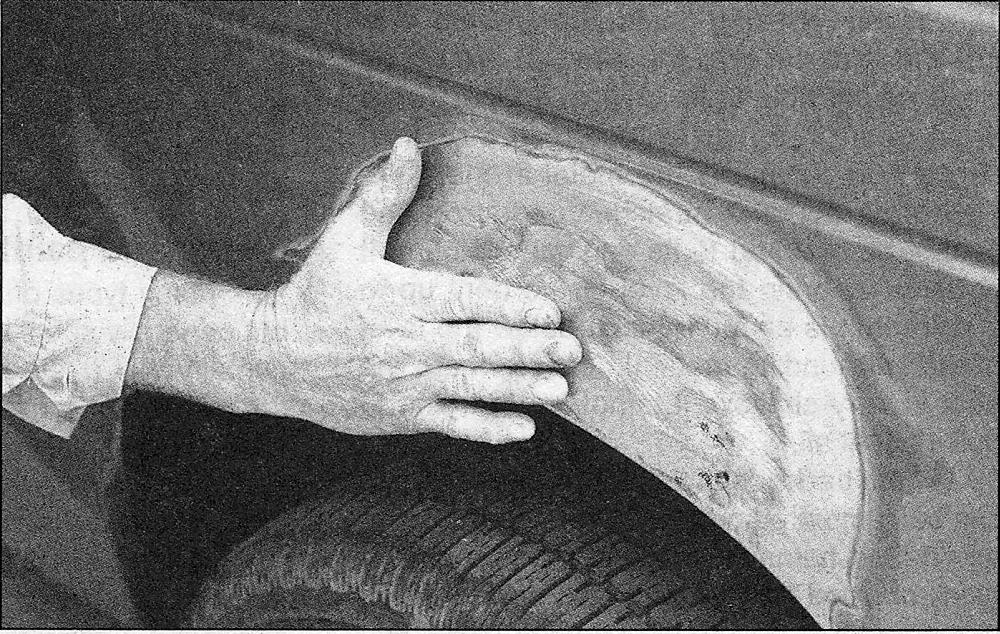
4. When the paint is removed, touch will probably be more helpful than sight for telling if the metal is straight. Hammer down the high spots or raise the low spots as necessary. Clean the repair area with wax/silicone remover
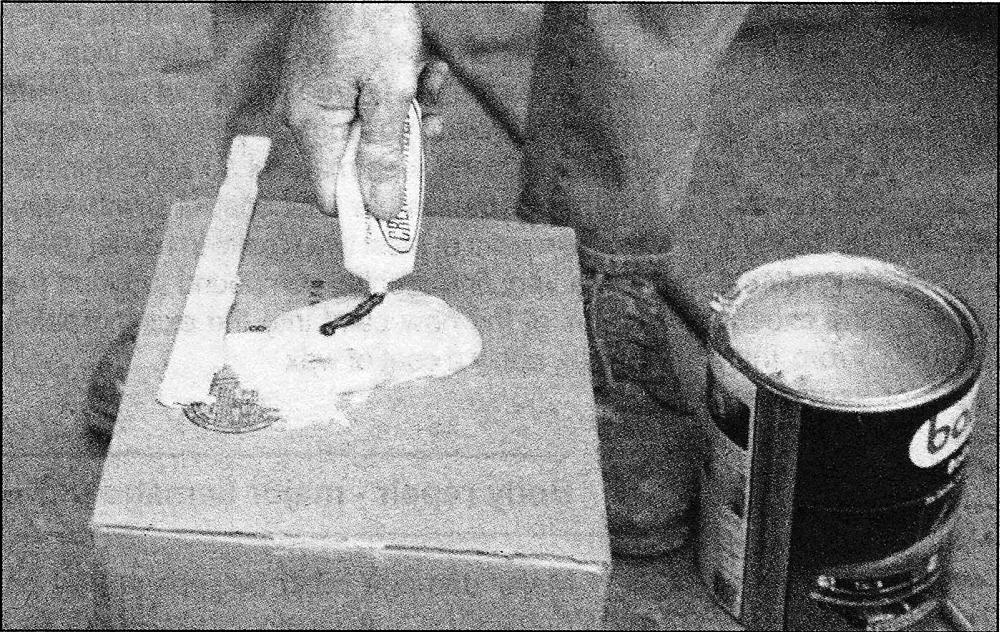
5. Following label instructions, mix up a batch of plastic filler and hardener. The ratio of filler to hardener is critical, and, if you mix it incorrectly, it will either not cure properly or cure too quickly (you won’t have time to file and sand it into shape)
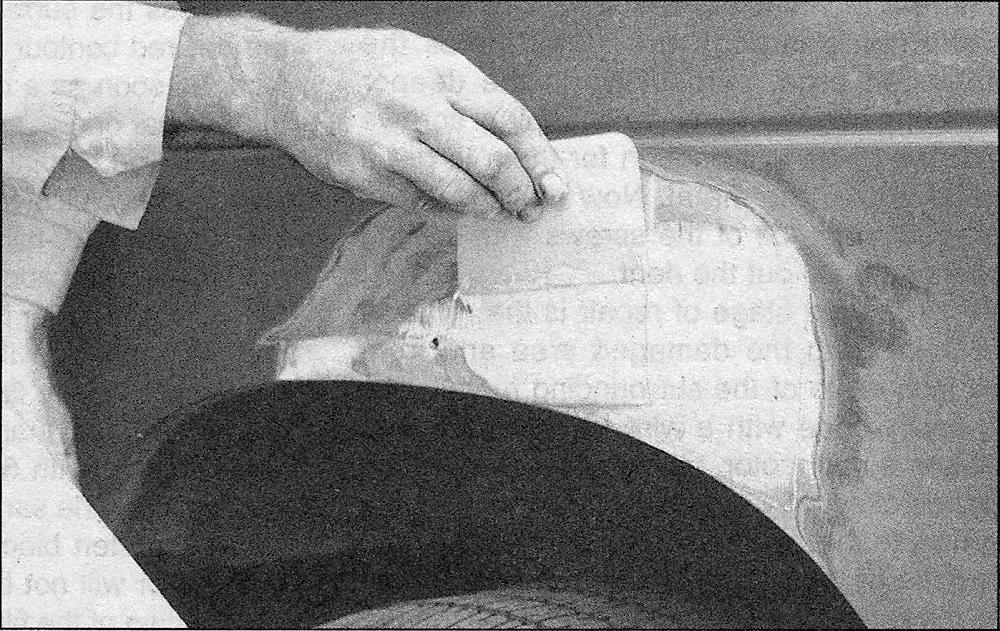
6. Working quickly so the filler doesn’t harden, use a plastic applicator to press the body filler firmly into the metal, assuring it bonds completely. Work the filler until it matches the original contour and is slightly above the surrounding metal
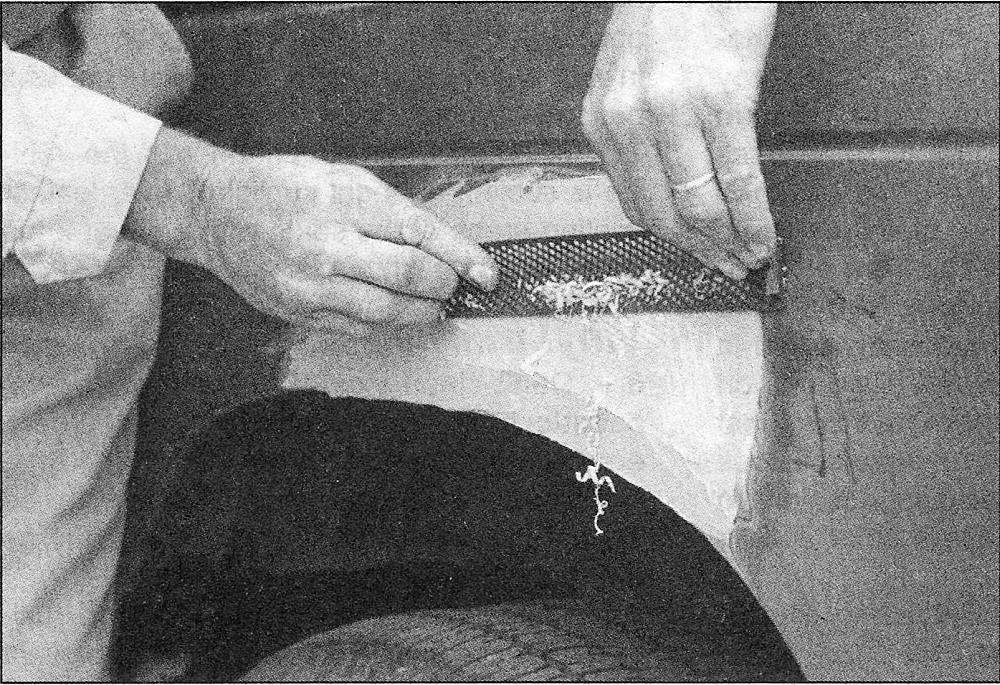
7. Let the filler harden until you can just dent it with your fingernail. Use a body file or Surform tool (shown here) to rough-shape the filler
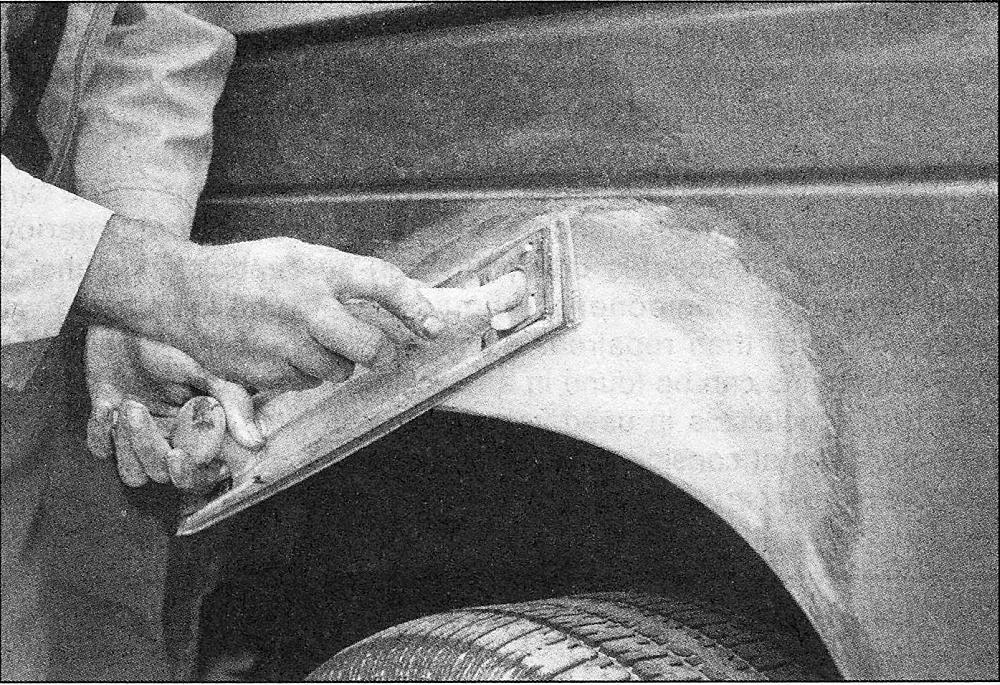
8. Use coarse-grit sandpaper and a sanding board or block to work the filler down until it’s smooth and even. Work down to finer grits of sandpaper — always using a board or block — ending up with 360 or 400 grit
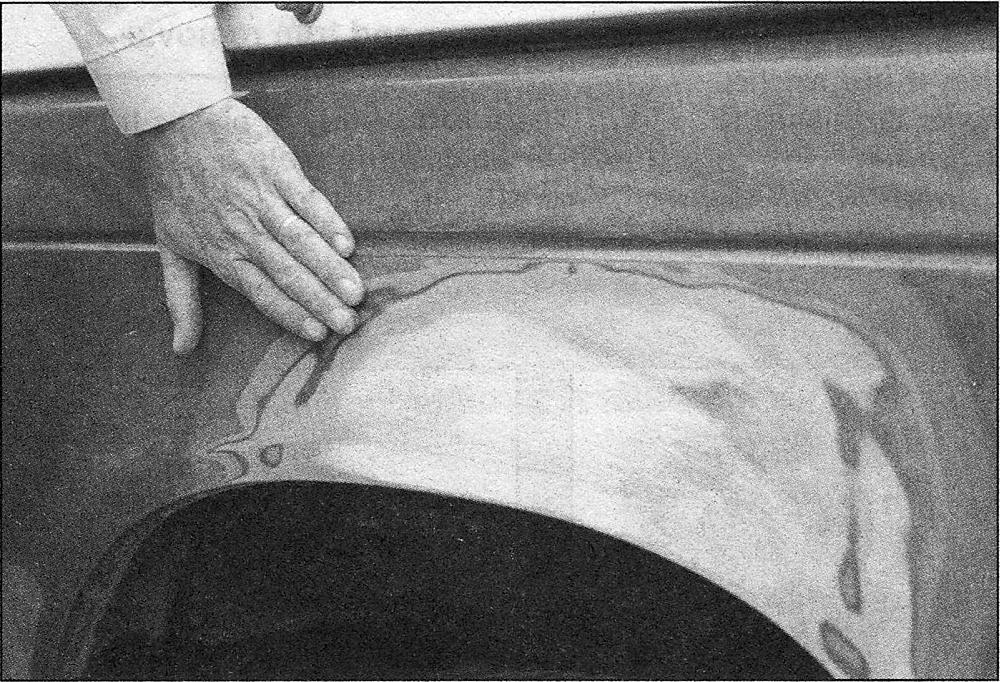
9. You shouldn’t be able to feel any ridge at the transition from the filler to the bare metal or from the bare metal to the old paint. As soon as the repair is flat and uniform, remove the dust and mask off the adjacent panels or trim pieces
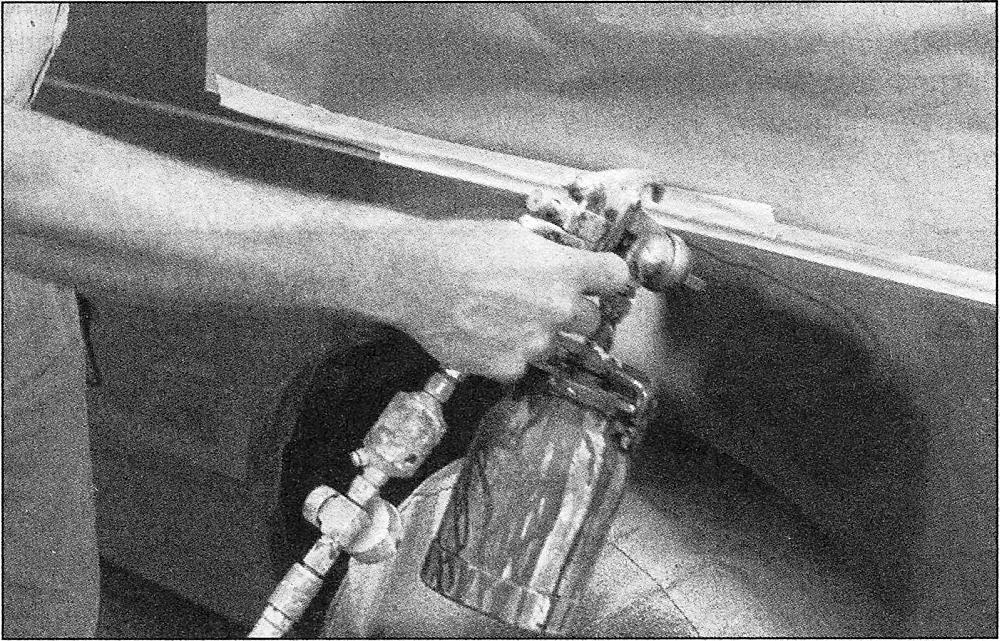
10. Apply several layers of primer to the area. Don’t spray the primer on too heavy, so it sags or runs, and make sure each coat is dry before you spray on the next one. A professional-type spray gun is being used here, but aerosol spray primer is available inexpensively from auto parts stores
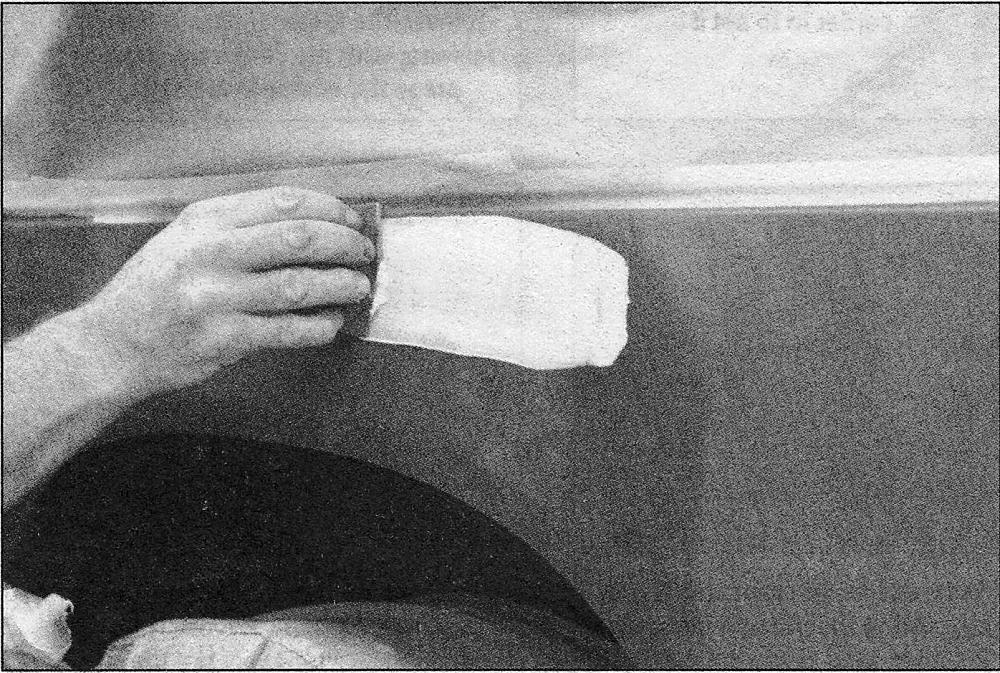
11. The primer will help reveal imperfections or scratches. Fill these with glazing compound. Follow the label instructions and sand it with 360 or 400-grit sandpaper until it’s smooth. Repeat the glazing, sanding and respraying until the primer reveals a perfectly smooth surface
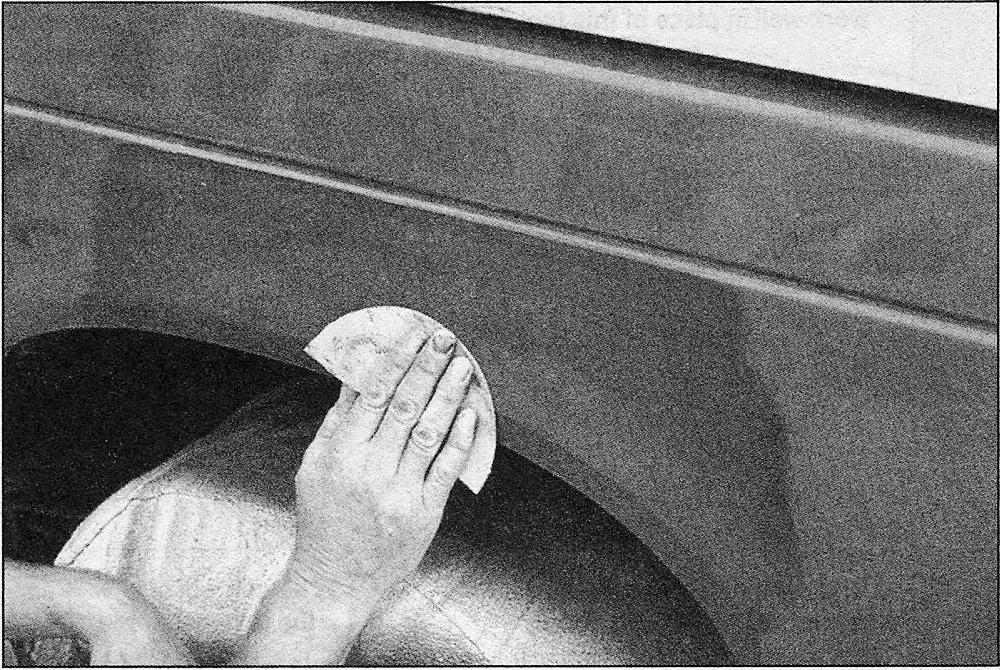
12. Finish sand the primer with very fine sandpaper (400 or 600-grit) to remove the primer overspray. Clean the area with water and allow it to dry. Use a tack rag to remove any dust, then apply the finish coat. Don’t attempt to rub out or wax the repair area until the paint has dried completely (at least two weeks)
