Tie-rod ends — removal and installation Ford F150
Warning: The manufacturer states to discard removed suspension component fasteners (nuts and bolts) and replace them with new ones.
1. Loosen the wheel lug nuts, raise the vehicle and place it securely on jackstands. Remove the wheel.
2. Loosen the tie-rod end locknut and mark the position of the tie-rod end on the threaded portion of the tie-rod (see illustrations).
.2a Loosen the tie-rod end locknut

.2b Mark the position of the tie-rod end on the threaded portion of the tie-rod

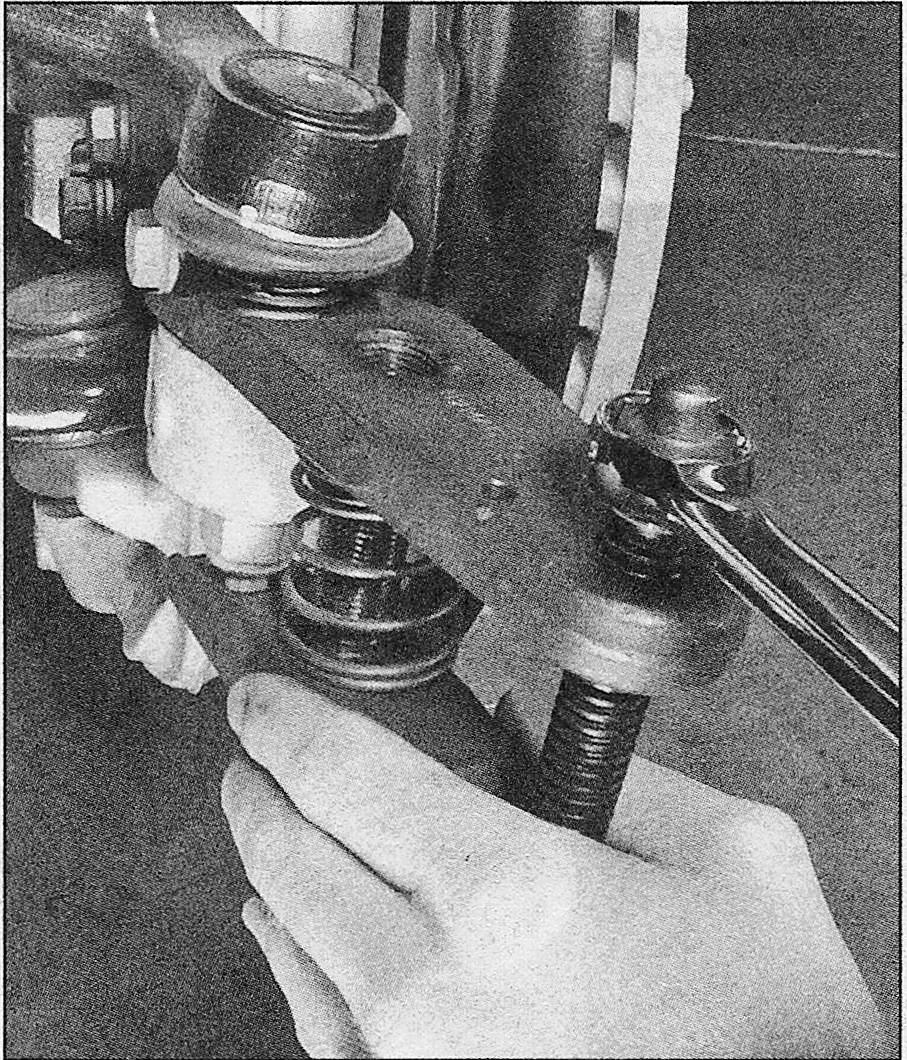
3. Loosen the nut from the tie-rod end balljoint stud, then separate the tie-rod end from the steering knuckle (see illustration).
.3 With the ballstud nut loosened, separate the tie-rod end from the steering knuckle using a suitable tool or puller
Remove the nut and detach the tie-rod end from the steering knuckle arm.
Note: Hold the ballstud on the tie-rod end with the appropriate tool if it turns while removing the nut.
4. Unscrew the old tie-rod end and install the new one. Make sure the new tie-rod end is aligned with the mark you made on the threads of the tie-rod.
Note: As you unscrew the tie-rod, count the number of turns. Thread the replacement tie-rod back on with the same number of turns. The turns and the index mark you made should match up together.
5. Installation is the reverse of removal. Be sure to tighten all fasteners to the torque settings listed in this Chapter’s Specifications.