Change the automatic transmission fluid and filter Ford F150
1. At the specified intervals, the transmission fluid should be drained and replaced. Since the fluid will remain hot long after driving, perform this procedure only after the engine has cooled down completely.
2. Before beginning work, purchase the transmission fluid specified in Recommended lubricants and fluids at the beginning of this Chapter, a new filter and filter seal (auxiliary pump inlet tube seal), and if necessary, a new gasket. Never reuse the old filter or filter seal!
Note: The gasket is reusable as long as it isn’t damaged.
3. Other tools necessary for this job include jackstands to support the vehicle in a raised position, a drain pan capable of holding at least ten quarts, newspapers and clean rags.
4. Raise the front and rear of the vehicle and support it securely and evenly on jackstands. The vehicle must be supported in a level position.
Note: The 6-speed and 10-speed transmissions covered by this manual do not have a drain plug — the fluid should be removed through the transmission fill plug using a siphon kit, if available.
Transmission fill plug/dipstick location
5. Remove the transmission fill plug and dipstick from the right side of the transmission.
6. Insert a siphon hose into the fill plug hole and siphon as much fluid out as possible.
Warning: Never start a siphon by mouth! Proper siphoning kits are available at most auto parts stores.
7. On 10-speed models, remove the transmission pan heat shield and shift linkage cover before removing the pan.
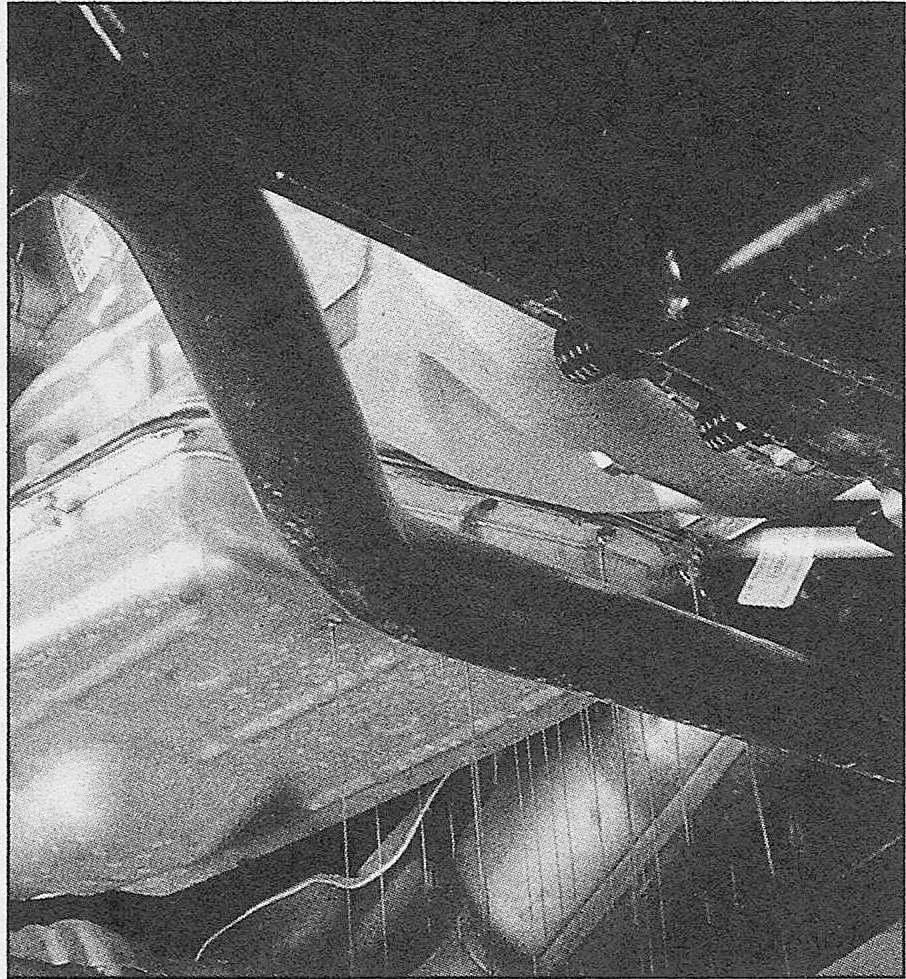
Loosen the transmission pan bolts…
… then pry the pan loose and allow the transmission fluid to drain out of the front of the pan
8. Place a large drain pan underneath the transmission. Loosen the transmission pan bolts, then carefully pry the front of the transmission pan loose with a screwdriver and allow the fluid to drain. Don’t damage the pan or transmission gasket surfaces or leaks could develop.
9. Remove all the pan bolts, transmission pan and gasket. Drain out the remaining fluid from the pan into the drain container. Carefully clean the gasket surface of the transmission to remove all traces of the old gasket and sealant.
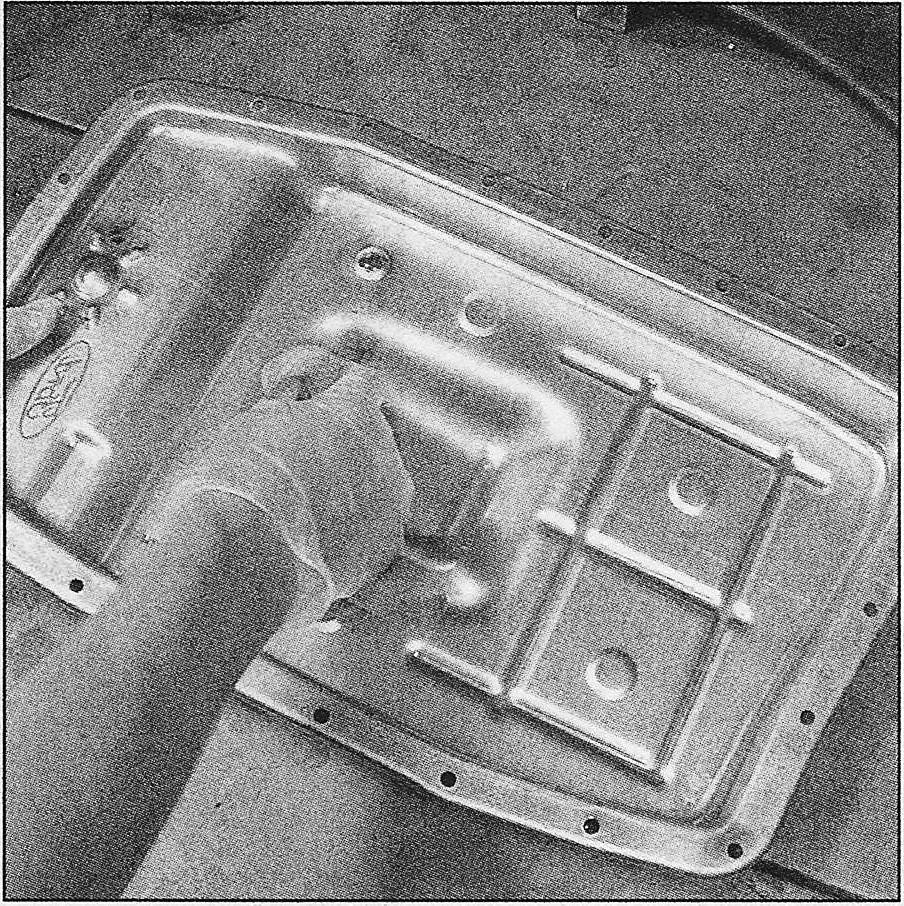
Remove the magnets from the pan…
… then clean the pan and magnets. Make sure the pan is completely clean and dried, then reinstall the magnets
10. Remove the magnet(s) from the pan, then clean the transmission pan and gasket mating surface with solvent and dry it thoroughly. Also clean the magnets, then place them on their original locations on the pan.
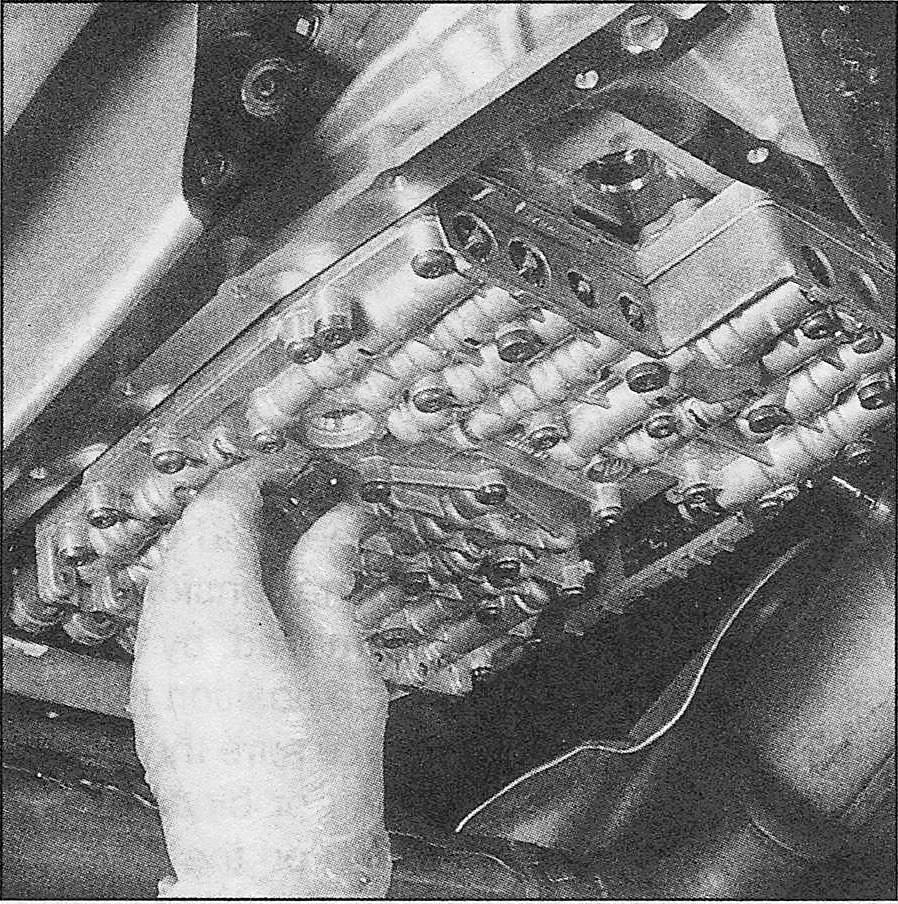
Pull the filter straight down and out of the valve body (wiggling it as needed)..
… then remove the auxiliary pump inlet tube seal from the valve body if it did not come out with the filter
(6-speed model shown)
11. On 6-speed models, pull the filter straight down and out of the valve body. If the filter seal or auxiliary pump inlet tube seal did not come out with the filter, remove them from the transmission, being careful not to gouge the seal bores in any way.
Note: A new auxiliary pump inlet tube seal will need to be used when installing the filter
12. On 10-speed models, remove the filter mounting bolts and the old filter from the transmission. If the filter seal did not come out with the filter, remove it from the transmission being careful not to gouge the seal bore in any way.
13. Install a new seal(s) — applying ATF to the seal(s) first — and filter. On 10-speed models, tighten the filter bolts to the torque listed in this Chapter’s Specifications.
Make sure the gasket surface on the pan is clean, then install a new gasket (or reinstall the old gasket if it’s not damaged)
14. Make sure the gasket surface on the transmission pan is clean, then install the gasket.
15. Put the pan in place against the transmission and install the bolts. Working around the pan in a criss-cross pattern, tighten each bolt a little at a time until the final torque figure listed in this Chapter’s Specifications is reached. Don’t overtighten the bolts!
16. Using a hand pump or squeeze bottle, add 3-1/2 quarts of the specified type of automatic transmission fluid through the filler plug/ dipstick opening.
17. Check the transmission fluid level with the dipstick, adding more fluid as necessary, 1/2 pint at a time — until the level reaches the cross-hatched area (not the dotted area) on the dipstick (see Section 6).
18. With the transmission in Park and the parking brake set, start and run the engine at idle.
19. With your foot on the brake, move the gear selector through each range, pausing for a few seconds in between, then back to Park. Check the fluid level with the engine still idling. Add fluid as necessary to reach the correct level.
Caution: Add fluid 1/2-pint at a time to avoid overfilling the transmission.
20. A more accurate fluid level check can be made with the transmission at normal operating temperature (see Section 6).
21. Check under the vehicle for leaks during the first few trips.


