Change the differential lubricant Ford F150
Drain
1. This procedure should be performed after the vehicle has been driven so the lubricant will be warm and therefore flow out of the differential more easily.
2. Raise the vehicle and support it securely on jackstands.
3. The easiest way to drain the differential(s) is to remove the lubricant through the filler plug hole with a suction pump. If the differential cover gasket is leaking, it will be necessary to remove the cover to drain the lubricant (which will also allow you to inspect the differential).
Changing the lubricant with a suction pump
4. Remove the filler plug from the differential (see Check the differential lubricant level).
Insert the hose into the plug opening and down to the bottom of the differential housing, then suction the lubricant out
5. Insert the suction pump flexible hose in the fill hole and down into the bottom of the differential housing.
6. Using the pump, suction out as much lubricant as possible.
Changing rear differential lubricant by removing the cover
Note: Vehicles equipped with 9.75 inch ring gear differentials use a metal gasket instead of RTV sealant (8.8 inch ring gear, as shown). The metal gasket on 9.75 inch differentials must be replaced with a new one if removed.
7. Move a drain pan, rags, newspapers and wrenches under the vehicle.
Release the harness clips from along the top of the differential cover
8. Release the wiring harness clips from along the top of the differential cover (see illustration).
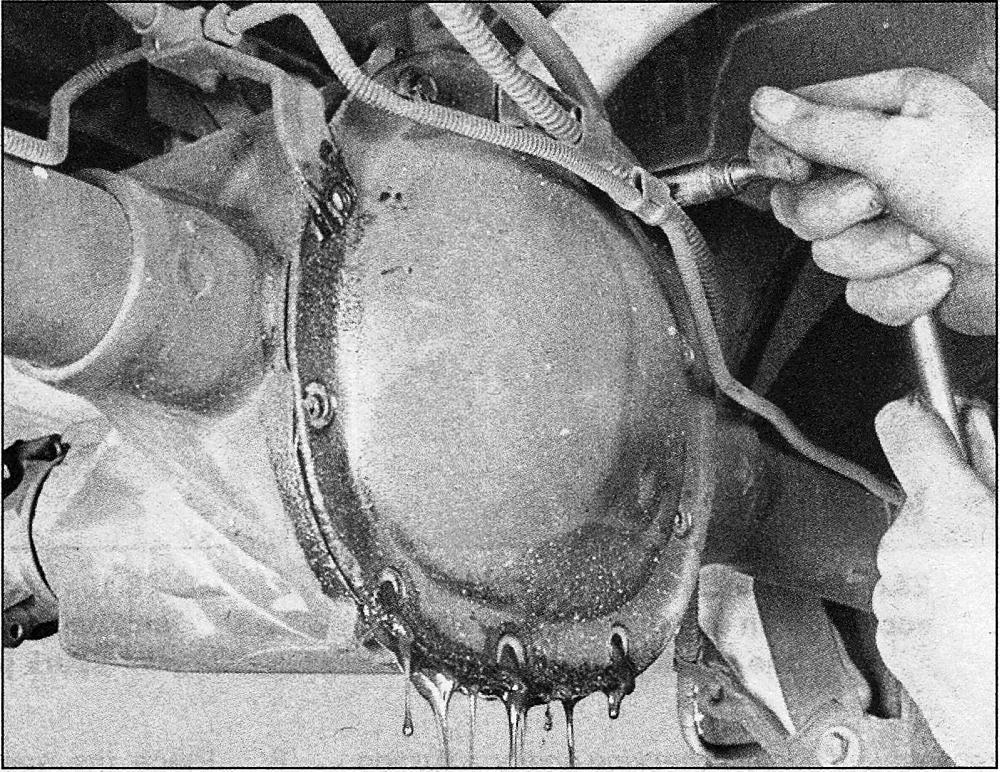
Remove the bolts from the lower edge of the cover…
… then loosen the top bolts and let the lubricant drain
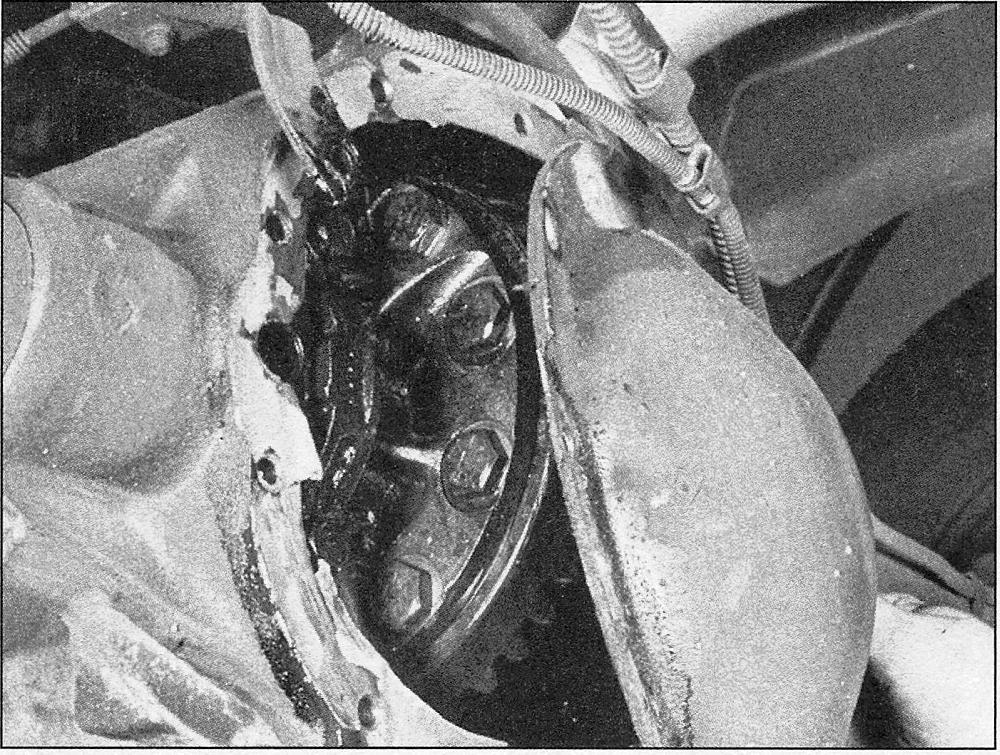
Once the lubricant has drained, remove the cover
9. Remove the bolts on the lower half of the cover. Loosen the bolts on the upper half and use them to loosely retain the cover. Allow the oil to drain into the pan, then completely remove the cover.
10. Using a lint-free rag, clean the inside of the cover and the accessible areas of the differential housing. As this is done, check for chipped gears and metal particles in the lubricant, indicating that the differential should be more thoroughly inspected and/or repaired.
Carefully scrape off the old material to ensure a leak-free seal
11. Thoroughly clean the gasket mating surfaces of the differential housing and the cover plate. Use a gasket scraper or putty knife to remove all traces of the old gasket.
12. Apply a thin layer of RTV sealant to the cover flange, staying on the inside of the bolt holes.
13. Within 15 minutes, carefully place the cover onto the differential and install the bolts and stud bolts in their correct locations. Tighten the cover bolts to the torque listed in this Chapter’s Specifications.
Refill
14. Use a hand pump, syringe or funnel to fill the differential housing with the specified lubricant until it’s level with the bottom of the filler plug hole. If RTV sealant was used, allow sufficient time for the sealant to cure before filling the differential.
15. Install the fill plug and tighten it securely.


