Automatic transmission — removal and installation Ford F150
Removal
1. Disconnect the cable from the negative battery terminal (see Battery – disconnection and reconnection).
2. On 3.5L turbocharged models and models with a 10-speed transmission, remove the engine cover and disconnect the oxygen sensor connector located at the rear of the left (driver’s side) valve cover.
3. On models with a 10-speed transmission, disconnect the oxygen sensor connector located at the rear of the right (passenger’s) valve cover.
4. On all models, Raise the vehicle and support it securely on jackstands.
5. Remove the starter (see Starter motor – removal and installation).
6. Remove the driveshaft(s) (see Driveline).
7. On 2WD models, remove the front stabilizer bar (see Stabilizer bar and bushings – removal and installation).
8. On all models, remove any skid plates, if equipped.
9. On 10-speed models, remove the transmission pan heat shield and detach the insulated transmission cover.
10. Drain the transmission fluid (see Tune-up and routine maintenance).
11. Place a transmission jack or a floor jack under the transmission and secure the transmission to the jack with safety chains.
12. Disconnect the oxygen sensor connectors and remove the left (driver’s side) catalytic converter assembly.
13. Remove the transmission mount (see Transmission mount – replacement).
14. Disconnect the oxygen sensor connectors and remove the right (passenger’s side) catalytic converter assembly.
15. On 10-speed models, disconnect the vent tube at the top of the transmission, behind the bellhousing.
16. On all models, remove the shift lever shield (if equipped).
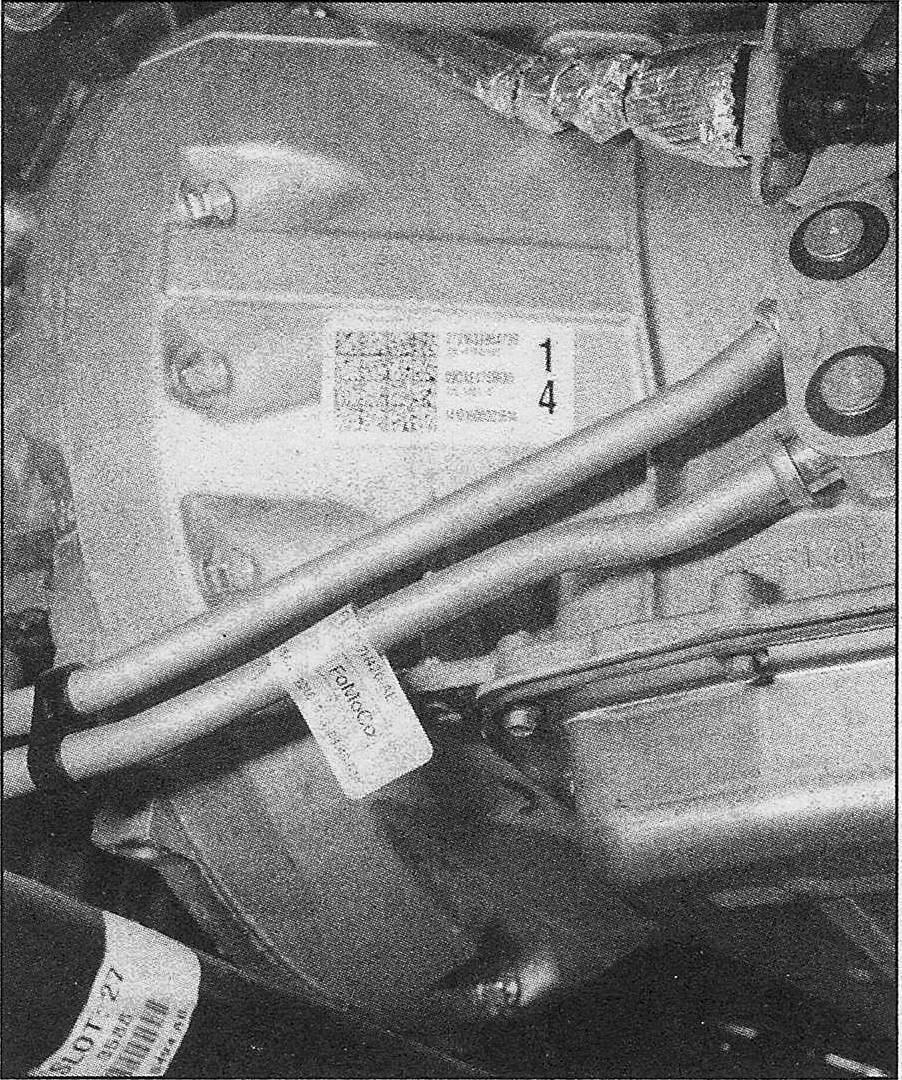
Remove the transmission fluid cooler line bolt
17. Remove the transmission fluid cooler line bolt, release the lines from the bracket
next to the oil pan and re-position the lines out of the way . Discard the 0-rings.
Note: Remove any transmission mounting bolts or nuts to disconnect the cooling line bracket.
Remove the bolt and the cable retainer
18. Disconnect the shift cable from the adjuster (see Shift cable – removal, installation and adjustment). Remove the bolt and cable from the bracket.
Disconnect the fuel line bracket from the transmission
19. Disconnect the fuel line bracket bolt from the top of the rear of the transmission.
20. 4WD models, disconnect the transfer case vent tube.
21. Disconnect the transfer case shift motor electrical connector and harness clips.
Rotate the electrical connector housing and pull out of the transmission
22. On 6-speed models, working at the right rear of the transmission, rotate the transmission electrical connector housing and pull out of the transmission .
23. On 10-speed models, working at the right rear of the transmission, slide the locking tab up on the transmission electrical connector and disconnect.
Disconnect the AUX pump connector
24. On models with auto stop/start, disconnect the auxiliary fluid pump connector above the transmission pan.
25. On all models, disconnect the transmission electrical harness clips and position out of the way.
Remove the screws and the access cover (2.7L model shown)
26. On 2.7L models, remove the two screws and the access cover.
27. On 3.5L turbocharged and non-turbo models on the right (passenger’s) side looking from the engine side of the bellhousing, remove the two screws and access cover.
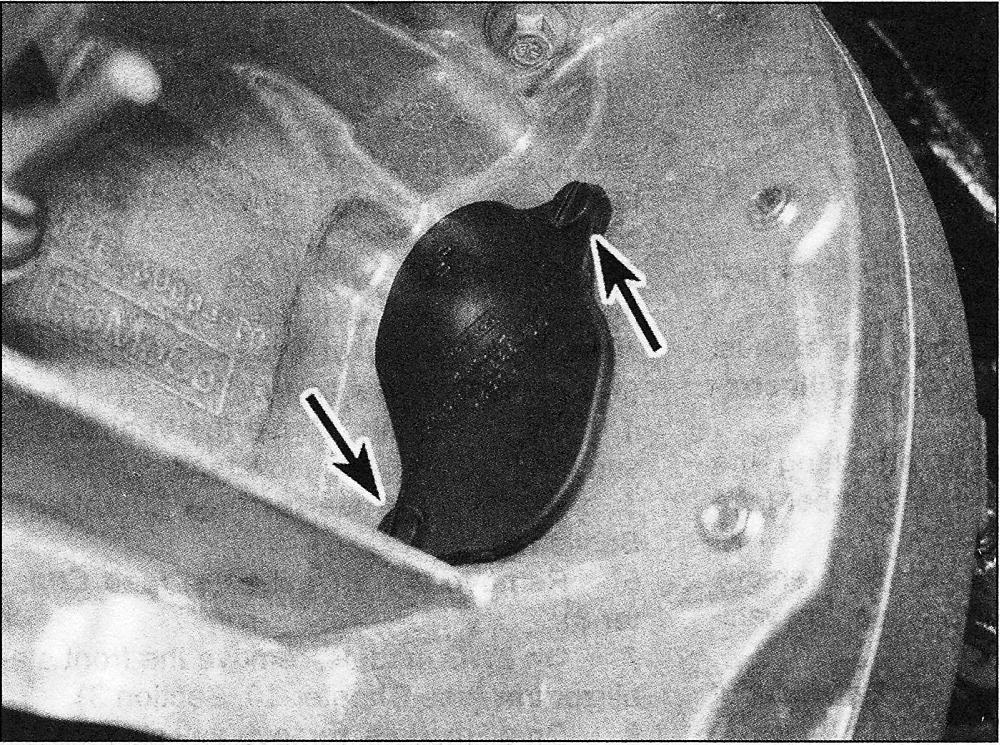
28. On 5.0L models, remove the drive-plate inspection cover at the bottom of the bell housing. On the left (driver’s) side looking from the engine side of the bellhousing, remove the rubber access plug.
Mark the relationship between the torque converter and the driveplate for installation
29. On all models, locate the nearest torque converter stud. Mark the relationship of the torque converter to the driveplate, then remove and discard the four torque converter retaining nuts. Rotate the engine using the crankshaft bolt to bring each nut within reach through the access hole .
a Remove the bottom bolt. .
b. . . the driver’s (left) side bolts.. .
c. . . the passenger’s (right) side bolts.. .
d. . . and the top bolts and bracket
30. Remove the ten bolts (seven on 5.0L models) attaching the transmission to the engine. The top bolts also secure the fuel line bracket.
31. Make a final check that all wires have been disconnected from the transmission, then move the transmission and jack toward the rear of the vehicle until the torque converter is separated from the driveplate. Secure the torque converter to the transmission so it won’t fall out during removal.
32. On 2WD models, lower the transmission to remove from the vehicle.
33. On 4WD models, as the transfer case makes it difficult to remove, move the transmission towards the rear of the vehicle, then tilt the front of the transmission down and remove towards the front of the vehicle.
34. On 4WD models, remove the transfer case as necessary (see Transfer case – removal and installation).
35. On models with auto stop/start, remove the auxiliary transmission fluid pump if necessary (see Transmission auxiliary fluid pump – replacement).
Installation
36. Installation is reverse of removal, noting the following points:
Note: If a new transmission is installed, solenoid body strategy must be entered by a qualified repair center.
- Use new nuts for the engine and transmission mounts and install using hand
- Use new nuts for the torque converter.
- Tighten all fasteners to the torque listed in this Chapter’s Specifications.
- Install new oil cooler line 0-rings.
- Flush the transmission cooler prior to
- If the transmission had a mechanical failure, replace the auxiliary oil cooler (see Auxiliary cooling – component removal and installation).
- Lubricate the torque converter pilot hub (where the torque converter enters the crankshaft).
- Adjust the shift cable (see Shift cable – removal, installation and adjustment).
- After filling the transmission with new fluid, check the transmission fluid level at operating temperature (150 to 170 degrees) and top off as necessary. Use a scan tool to verify transmission fluid temperature.
- If a new valve body has been installed, the solenoid body strategy must be updated by a qualified technician.
- Perform the adaptive learn drive cycle (see Automatic transmission).


